How to stop Recording on tv
In the fast-paced world of modern television, the ability to record and watch shows at our convenience has become an indispensable feature. Whether it’s capturing your favorite series or ensuring you never miss a live event, DVRs (Digital Video Recorders) and other recording devices have revolutionized how we consume media. However, knowing precisely how to stop recording on TV can sometimes be less intuitive than initiating the process. In this comprehensive guide, we’ll explore the various methods and steps you can take to halt recordings effectively across different platforms and devices.
Understanding Your Recording Device:
Before delving into the specifics of stopping recordings, it’s crucial to familiarize yourself with your recording device. Whether you’re using a traditional DVR, a smart TV, or a streaming device with recording capabilities, understanding its interface and functionalities is key to navigating the recording process seamlessly.
Stopping Recordings on Traditional DVRs:
Traditional DVRs remain a popular choice for recording live TV, offering users a straightforward interface and reliable performance. To stop a recording on most DVRs:
- Locate the “Recordings” or “DVR” menu on your remote control or TV interface.
- Navigate to the list of current recordings.
- Select the recording you wish to stop.
- Look for the option to “Stop,” “Cancel Recording,” or a similar prompt.
- Confirm your selection, and the recording will cease.
Some DVRs may allow you to stop recordings directly from the live TV interface by accessing the recording options while the program is being recorded.
Halting Recordings on Smart TVs:
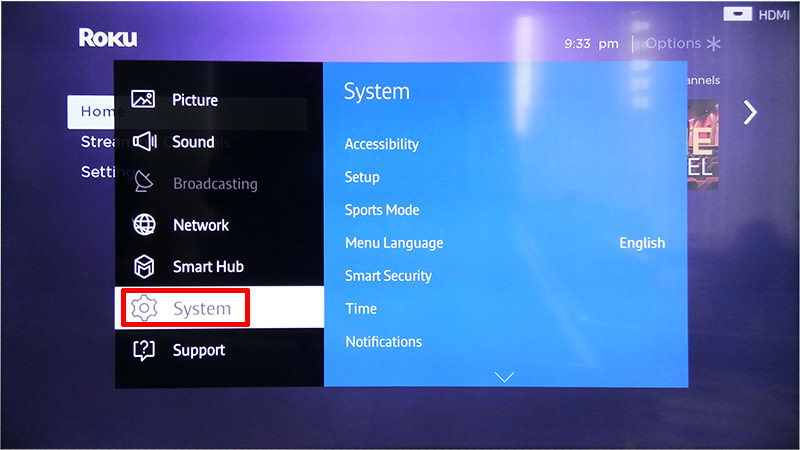
Many modern smart TVs come equipped with built-in recording features, allowing users to capture live broadcasts effortlessly. To stop a recording on a smart TV:
- Access the recording controls by pressing the “Menu” or “Settings” button on your remote.
- Navigate to the “Recordings” or “DVR” section.
- Locate the active recording you want to stop.
- Select the recording and choose the option to “Stop” or “Cancel Recording.”
- Confirm your selection to halt the recording process.
Some smart TVs may offer additional features such as scheduling recordings or setting recording durations, which can also be managed from the recording menu.
Stopping Recordings on Streaming Devices:
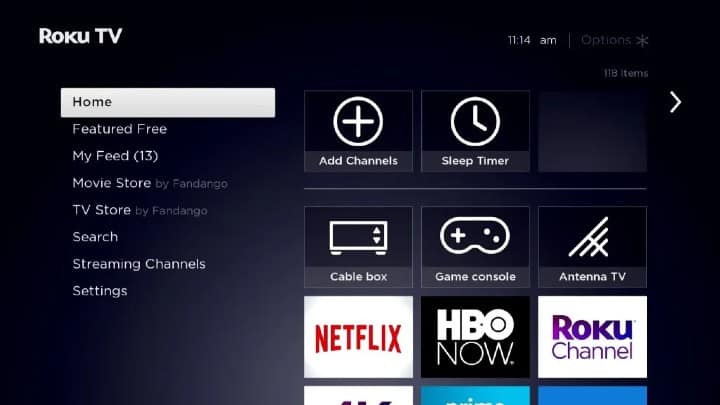
Streaming devices like Roku, Amazon Fire TV, and Apple TV often provide recording capabilities through compatible apps or services. To stop a recording on a streaming device:
- Open the app or service through which you initiated the recording.
- Navigate to the “Recordings” or “DVR” section within the app.
- Locate the active recording in the list of recordings.
- Select the recording you wish to stop.
- Look for the option to “Stop Recording” or a similar prompt.
- Confirm your selection to terminate the recording.
Depending on the streaming device and app/service you’re using, the process of stopping recordings may vary slightly. However, most apps strive to maintain a user-friendly interface for managing recordings seamlessly.
Advanced Tips for Managing Recordings:
While the basic steps outlined above cover the essentials of stopping recordings on TV, there are several advanced tips and tricks to enhance your recording experience:
- Series Management: If you’re recording a TV series, consider exploring options to manage the entire series’ recordings collectively. Many DVRs and streaming services offer features to organize and prioritize series recordings efficiently.
- Recording Priorities: In situations where your DVR or recording device has limited storage space, it’s essential to manage recording priorities effectively. Prioritize recordings based on your preferences and delete unnecessary recordings promptly to free up space for new content.
- Remote Access: Some DVRs and smart TVs offer remote access capabilities, allowing you to manage recordings from your smartphone or tablet. Explore whether your device supports remote recording management for added convenience.
- Recording Conflict Resolution: In instances where two or more recordings overlap, causing a conflict, your DVR or recording device may prompt you to resolve the conflict manually. Familiarize yourself with the conflict resolution process to ensure uninterrupted recording of your preferred programs.
- Automatic Recording Cleanup: To prevent your DVR or recording device from running out of storage space, enable automatic recording cleanup features. These features automatically delete older recordings to make room for new ones, ensuring you never miss out on the latest content.
By leveraging these advanced tips and features, you can optimize your recording experience and enjoy seamless access to your favorite TV shows and events.
Conclusion:
Stopping recordings on TV is a fundamental skill for anyone who regularly utilizes DVRs, smart TVs, or streaming devices. By understanding the specific procedures and functionalities of your recording device, you can effortlessly manage and control your recordings with ease. Whether you’re halting a single recording or managing a series of recordings, the steps outlined in this guide empower you to take full control of your TV viewing experience. With a bit of practice and familiarity with your device’s features, you’ll master the art of stopping TV recordings in no time, ensuring that you never miss a moment of your favorite entertainment.